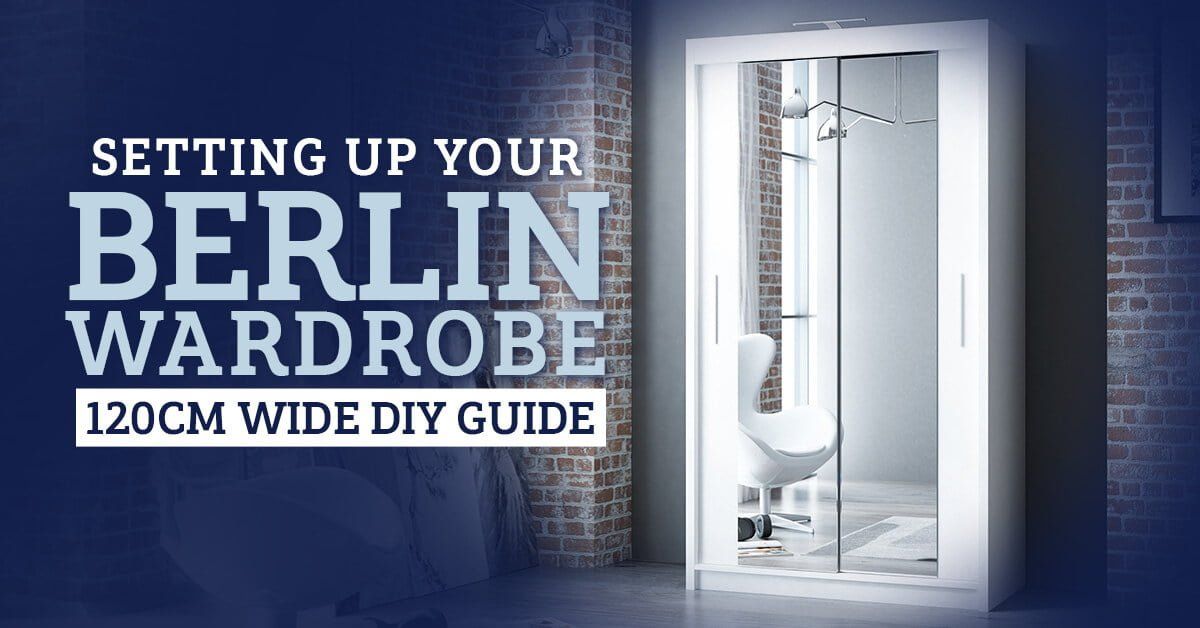
Setting Up Your Berlin Wardrobe 120cm Wide DIY Guide

A DIY wardrobe solution becomes even more important if you find yourselfwith limited closet space. Building a stylish and efficient wardrobe is a vital part of organising your living space. We’ll take you step-by-step through the process of organising your own 120cm wide Berlin sliding wardrobe in this tutorial, so you can maximise space while still expressing your individual style.
Supplies Required for Berlin sliding wardrobe
Plywood sheets: To give your wardrobes stability, make sure the sheets are sturdy and of high quality.
Saw: The plywood sheets must be cut to the required dimensions using a handsaw or a circular saw.
Sandpaper: To prevent splinters and produce a polished finish, smooth the cut plywood’s edges.
Wood Glue: To seal connections and joints, use a strong wood glue.
Screws: To guarantee a sturdy and solid structure, select screws for your Berlin wardrobe with the right lengths.
Drill and screwdriver: To drive the screws into the plywood. A measuring tape and pencil are necessary for precise marking and measurements.
Hanging Rod: For hanging clothing, use a strong metal rod.
Shelf Brackets: To provide support for the wardrobe’s shelves, install brackets.
Paint or Stain: Give your wardrobe a unique touch by painting or staining it to go with the colour scheme of your room.
Methodical Guide
Measure and Plan
To start, determine the size of the area that will house your clothing. Measure the area that has been specified accurately in terms of height, width, and depth. Make a basic design, taking into account where you want the shelves, hanging rods, and other features to be placed. Remember the desired level of both functionality and attractiveness.
Cut the Plywood
Carefully cut the plywood sheets to the appropriate size using a saw. Here, accuracy is crucial since precise cutting will guarantee a smooth installation. The sides, top, bottom, back, and shelves will all require pieces. Take your time doing this so as not to make mistakes that could cause your wardrobe’s structural integrity to be compromised.
Assemble the Frame
Arrange the cut pieces on the assembly tray and get started. Before attaching the sides to the top and bottom pieces, apply wood glue along the edges. Fasten the joints with the proper screws. By taking diagonal measurements from corner to corner, you may check if your frame is square and stable. If the two measurements are equivalent, the corners are square.
Add Shelves
Screw the shelf brackets into the frame’s sides, adjusting them to the appropriate shelf heights. After securing the shelves with screws, slide them into position. Your storage needs will determine the quantity and arrangement of shelves. To ensure the shelves can support the weight of your items, reinforce the connection points.
Install the Hanging Rod
If your Berlin sliding wardrobe design calls for a hanging rod, measure the space within the wardrobe and install it at the proper height. Moreover, to make sure it’s straight, use a level. The hanging pole maximises storage capacity by giving your garments a defined place to hang neatly.
Attach the Rear Panel
Screws are used to fasten the rear panel to the frame. By taking this step, the wardrobe construction will become more stable and won’t sway. Additionally, the rear panel enhances the overall design of your Berlin wardrobe.
Sand and appearance
To achieve a polished appearance, use sandpaper to smooth any uneven surfaces or sharp edges. The final appearance of your wardrobes will look better the smoother the surfaces are. After sanding, pick a complementary paint or stain. Moreover, apply the decor in your room uniformly for a polished appearance.
Add Accessories
Adding small drawers, hooks, or mirrors to your closet will improve its appearance and functionality. These embellishments enhance the overall aesthetic and can personalise and improve the functionality of your wardrobe.
Mount or set in Position
You can mount the wardrobe to the wall for extra stability or you can set it where it belongs, depending on your taste and style. Furthermore, for higher wardrobes in particular, mounting is advised to avoid any unintentional tipping.
Arrange Your Clothes
After assembling and setting up your homemade wardrobe, spend some time effectively arranging your clothes and accessories. Make use of the allotted hanging rod, shelves, and any other elements to establish a closet of your own choice.
Thus, by following these instructions, you’ll have a wardrobe that is both practical and space-efficient, as well as a unique piece of furniture that will enhance the aesthetic of your living area with a Berlin sliding wardrobe. Savour the delight of creating something useful and distinctively you!


